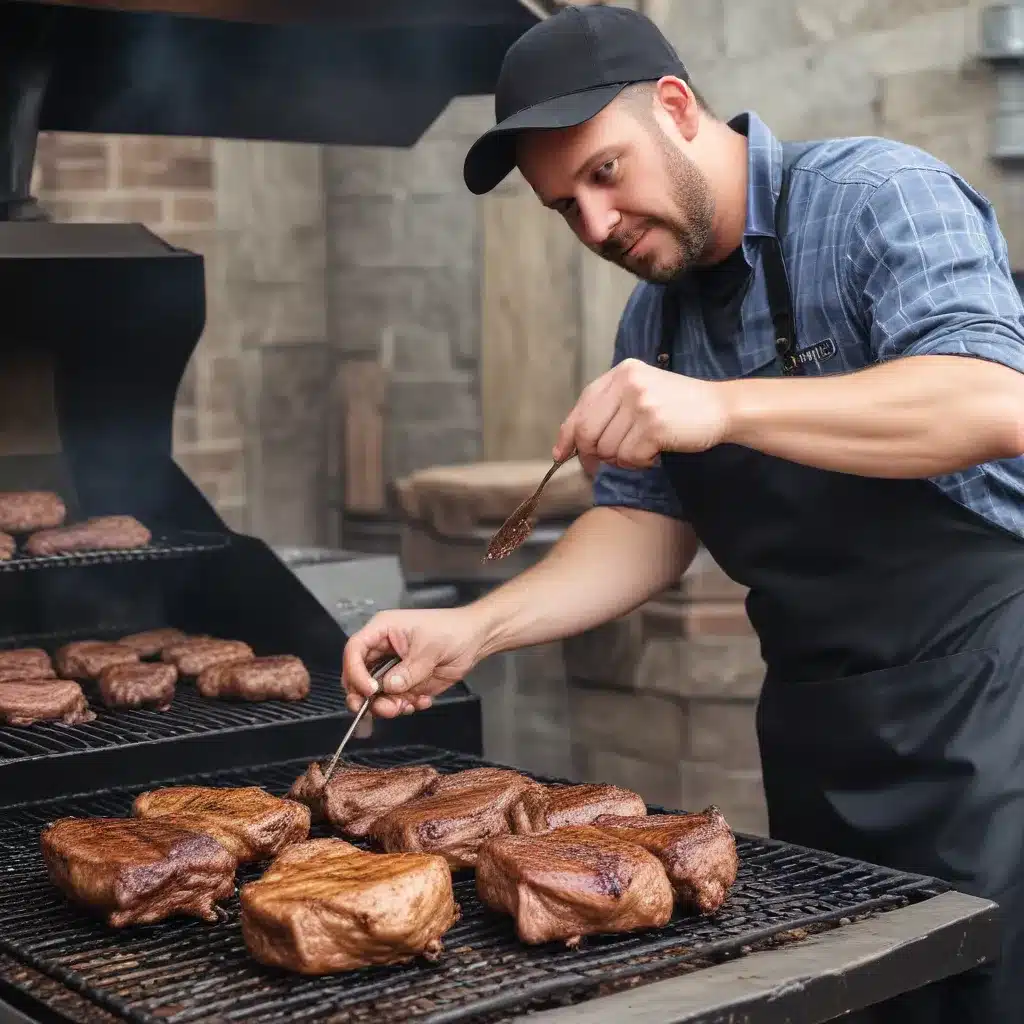
Unlocking the Secrets of Reverse Searing
As an experienced barbecue pitmaster, I’ve spent countless hours honing my craft, experimenting with different techniques, and exploring the nuances of smoking and grilling the perfect meats. Today, I’m excited to share one of my favorite methods – the art of reverse searing. This approach has become a game-changer in my barbecue arsenal, allowing me to consistently achieve juicy, tender, and flavorful results, whether I’m cooking pork chops, steaks, or even thick-cut brisket.
The traditional approach to searing meats often involves high-heat searing followed by low-and-slow cooking. While this method can work well, it can also be tricky to nail the perfect doneness, especially with thicker cuts. That’s where reverse searing shines. By starting with a low-and-slow cooking phase and then searing at the end, you can take control of the cooking process and ensure your meats are cooked to perfection.
The Reverse Searing Technique Explained
At the heart of reverse searing is the concept of gradual, even heat penetration. By starting with a lower temperature, you allow the internal temperature of the meat to rise slowly and evenly, breaking down connective tissues and ensuring a juicy, tender final product. Once the meat has reached your desired internal temperature, you can then sear the exterior, creating that irresistible caramelized crust that seals in all the delicious juices.
The beauty of reverse searing is that it’s a versatile technique that can be applied to a wide range of cuts and thicknesses. Whether you’re working with thick-cut steaks, pork chops, or even a hefty brisket, the principles remain the same. By taking the time to cook the meat low and slow, you’re creating the perfect canvas for a final sear that will elevate the flavors and textures to new heights.
Mastering the Reverse Sear
To achieve reverse searing perfection, there are a few key steps to keep in mind:
1. Preparation
Start by seasoning your meat generously with your favorite rubs or spices. This will not only add flavor but also help create that beautiful sear once you’re ready to finish the cooking process.
2. Low-and-Slow Cooking
Preheat your grill, smoker, or oven to a relatively low temperature, typically around 225°F to 250°F. Place the seasoned meat on the grate or in the smoker and let it cook slowly, monitoring the internal temperature with a reliable digital thermometer. For thicker cuts, you may need to adjust the cooking time, but the goal is to achieve your desired doneness (usually around 10-15°F below your target temperature) before the final sear.
3. The Sear
Once the meat has reached the perfect internal temperature, it’s time to crank up the heat and sear the exterior. This can be done on a hot grill, in a cast-iron skillet, or even with a blowtorch (for those with a flair for dramatic presentation). Aim for a quick, high-heat sear, just long enough to create that irresistible crust without overcooking the interior.
4. Resting and Serving
After the sear, it’s crucial to let the meat rest for 5-10 minutes before slicing into it. This allows the juices to redistribute throughout the meat, ensuring every bite is bursting with flavor and tenderness.
Reverse Searing in Action: Pork Chops, Steaks, and Beyond
One of the standout benefits of reverse searing is its versatility. I’ve used this technique on a wide range of meats, each with its own unique challenges and rewards.
Pork Chops
Pork chops are a classic barbecue staple, but they can be tricky to cook perfectly. Too much time on the grill and they can quickly dry out. Reverse searing solves this problem by allowing the chops to cook slowly and evenly, breaking down the connective tissues and locking in moisture. A final sear on a hot cast-iron skillet or grill grates gives them that coveted caramelized crust.
Steaks
When it comes to steaks, reverse searing is a game-changer. Whether you’re working with thick-cut ribeyes, New York strips, or even a tender filet mignon, this method ensures a perfectly cooked interior while still delivering that signature sear on the outside. I’ve found that reverse searing is especially effective for larger, thicker cuts that can be challenging to cook through using traditional methods.
Brisket
Reverse searing even works wonders on a hefty brisket. By cooking the brisket low and slow in the smoker or oven, you can achieve that sought-after tender, juicy texture. Once it reaches your desired internal temperature, a quick sear on a hot grill or under a broiler will seal in the flavors and create a mouth-watering bark on the outside.
Customizing the Reverse Sear
One of the joys of reverse searing is the ability to customize the process to suit your personal preferences and the specific cut of meat you’re working with. For example, you can experiment with different wood chips or pellets in your smoker to impart unique flavor profiles. Or, you can play around with the timing and intensity of the final sear to achieve your desired level of char and caramelization.
Reverse Searing: The Pitmaster’s Playground
As a seasoned barbecue pitmaster, I can confidently say that reverse searing has become an essential tool in my culinary arsenal. It’s a technique that allows me to consistently produce juicy, tender, and flavorful meats that never fail to impress my guests. Whether you’re a backyard enthusiast or a seasoned competition pitmaster, I highly encourage you to give reverse searing a try. It’s a surefire way to elevate your barbecue game and unlock a whole new world of culinary possibilities.
So, fire up your grill, grab your favorite cuts of meat, and let’s dive into the pitmasters’ playground of reverse searing. I promise, the results will have your taste buds dancing with delight.

