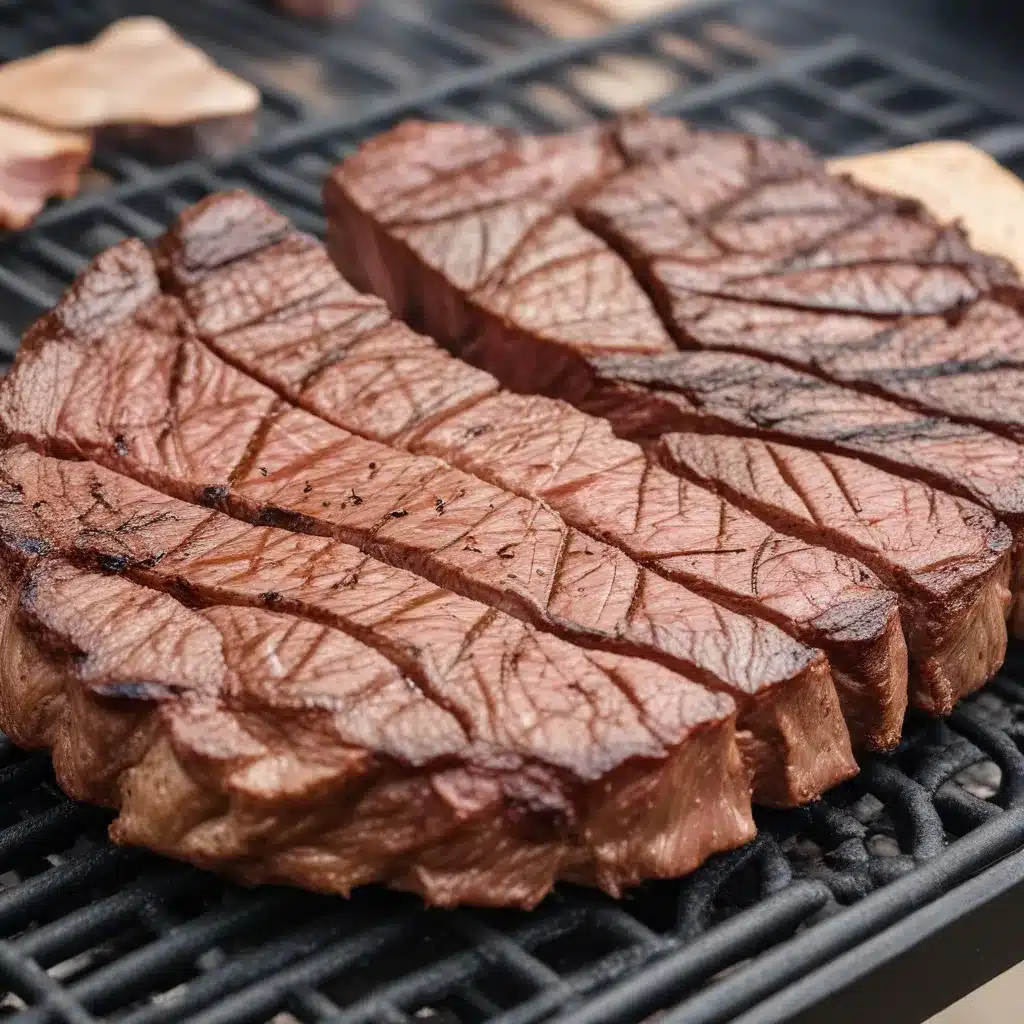
As an experienced barbecue pitmaster, I’ve honed my craft over the years, perfecting techniques that consistently deliver mouthwatering results. One method that has become an integral part of my repertoire is the reverse sear, a game-changing approach to cooking steaks that produces unparalleled tenderness and flavor.
The Reverse Sear Advantage
The traditional method of searing a steak over high heat and then finishing it in the oven often leads to a dry, overcooked exterior and an uneven doneness throughout. The reverse sear flips this process, allowing you to slowly cook the steak to your desired internal temperature before searing it to achieve a perfectly crisp, caramelized crust.
This approach offers several key advantages:
-
Consistent Doneness: By slowly bringing the steak to your desired level of doneness in the oven or smoker, you can achieve a perfect, edge-to-edge pink center, ensuring every bite is cooked to perfection.
-
Enhanced Flavor: The low-and-slow cooking process allows the natural flavors of the meat to concentrate and develop, resulting in a deeper, more intense taste.
-
Crisp Sear: The final sear over high heat creates a delectable crust, locking in the juices and elevating the overall eating experience.
-
Versatility: The reverse sear works exceptionally well with a wide range of steaks, from tender filets to robust ribeyes, making it a versatile technique for any cut.
Mastering the Reverse Sear
To master the art of reverse searing, follow these step-by-step instructions:
Ingredient Prep
- Choose the Right Cut: Select a high-quality steak, such as ribeye, New York strip, or filet mignon, with a well-marbled appearance for optimal tenderness and flavor.
- Season Generously: Apply a generous amount of your favorite seasoning blend, ensuring an even coating on all sides of the steak. I prefer a simple combination of coarse salt and freshly ground black pepper.
Low-and-Slow Cooking
- Preheat Your Oven or Smoker: Set your oven to a low temperature, around 225°F (107°C), or prepare your smoker to maintain a consistent temperature in the same range.
- Cook to the Desired Doneness: Place the seasoned steak on a wire rack set over a baking sheet, allowing the air to circulate around the meat. Cook the steak until it reaches your preferred internal temperature, typically 10-15°F below your desired final doneness. For example, aim for an internal temperature of 120°F (49°C) for a medium-rare steak.
- Monitor the Temperature: Use a reliable instant-read thermometer to monitor the internal temperature of the steak as it cooks. This will ensure you achieve the perfect level of doneness.
The Sear
- Heat a Cast-Iron Skillet or Grill: While the steak is cooking in the oven or smoker, heat a cast-iron skillet or prepare your grill for high-heat searing.
- Sear the Steak: Once the steak has reached the desired internal temperature, remove it from the oven or smoker and immediately sear it in the hot skillet or over the grill. Sear for 1-2 minutes per side, or until a deep, caramelized crust forms.
Resting and Serving
- Let It Rest: After searing, transfer the steak to a cutting board and allow it to rest for 5-10 minutes. This resting period allows the juices to redistribute throughout the meat, ensuring a juicy, flavorful bite.
- Slice and Serve: Slice the steak against the grain, and serve it hot, highlighting the perfectly cooked interior and the crisp, golden-brown exterior.
Flavor Enhancements
While the reverse sear technique is a standout on its own, you can take it to new heights by incorporating additional flavors and techniques:
Wood Smoke
Infuse your steaks with a delightful smoky aroma by cooking them in a smoker or by placing a small amount of wood chips in your oven. Hickory, mesquite, or oak chips can all impart a unique and delicious smokiness.
Herb Butter
Prepare a compound butter infused with fresh herbs, such as rosemary, thyme, or garlic, and top the seared steak with a generous pat. As the butter melts, it will baste the meat and add an extra layer of flavor.
Dry Brining
For an even more tender and flavorful steak, try dry brining the meat a day or two in advance. Simply sprinkle the steak with a light coating of salt and let it rest in the refrigerator before cooking.
Reverse Sear for Other Proteins
While the reverse sear technique is particularly well-suited for steaks, you can also apply it to other proteins, such as pork chops, lamb chops, or even thick-cut pork belly. Experiment and find the perfect combination for your taste preferences.
Sharing the Passion
As a seasoned pitmaster, I’ve experienced the joy of perfecting the reverse sear technique and sharing it with fellow barbecue enthusiasts. The satisfaction of presenting a perfectly cooked steak, with its tender interior and crisp, caramelized exterior, is unparalleled.
I encourage you to embrace the reverse sear and make it a centerpiece of your barbecue repertoire. Experiment with different cuts, seasonings, and flavor enhancements to discover your own unique signature. The journey of mastering this technique will not only elevate your grilling skills but also deepen your appreciation for the art of barbecue.
So, fire up your oven or smoker, heat up that cast-iron skillet, and let’s dive into the world of reverse seared steak perfection. I can’t wait to hear about your own experiences and the mouthwatering creations you’ll share with your family and friends. Happy grilling!

