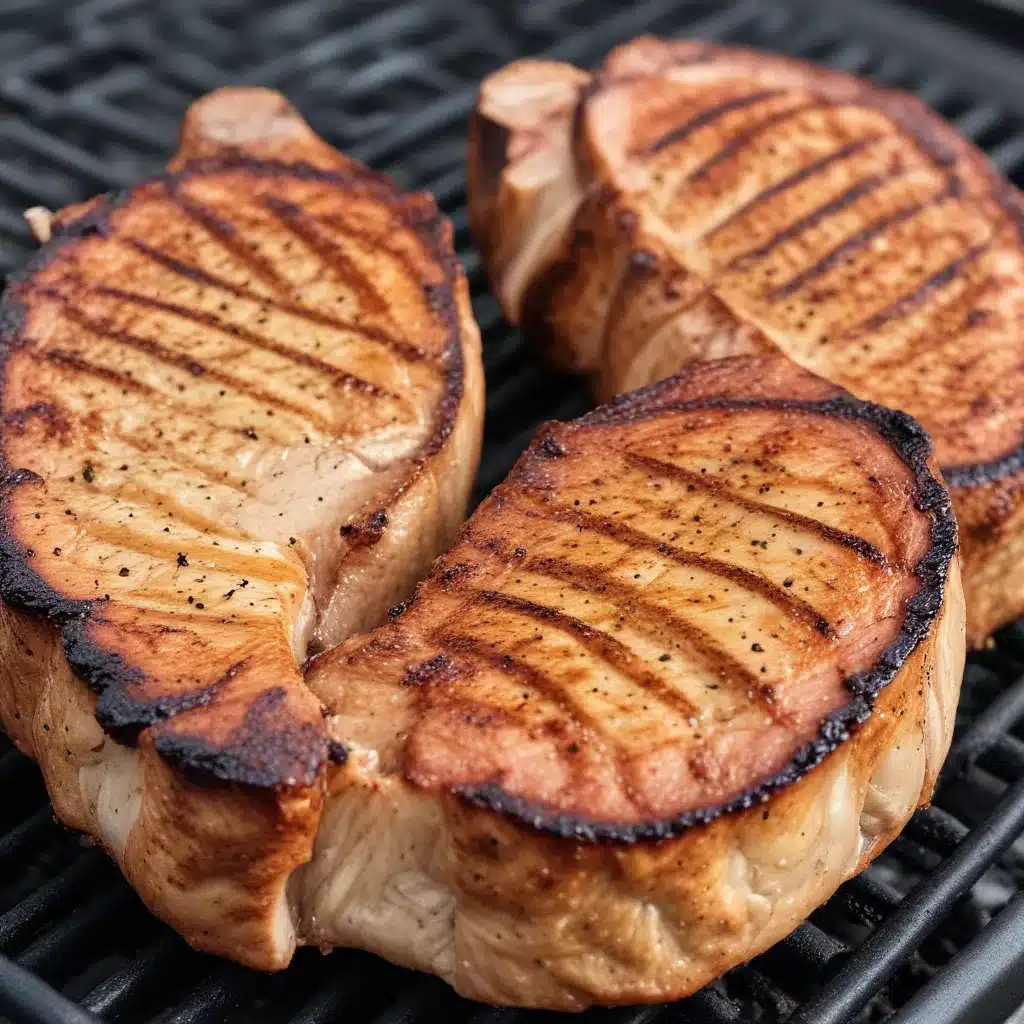
As an experienced barbecue pitmaster, I’ve spent countless hours honing my craft and perfecting techniques to deliver mouthwatering results. One of the most satisfying challenges I’ve tackled is the art of grilling thick-cut pork chops to perfection. These hefty, flavor-packed cuts can be tricky to master, but when you nail the process, the payoff is truly sublime.
Selecting the Ideal Pork Chops
Let’s start with the foundation – choosing the right pork chops. I always opt for thick-cut, bone-in chops, ideally around 1-inch thick or more. The extra thickness allows for a longer cooking time, which is essential for developing that signature smoky, caramelized crust while keeping the interior juicy and tender.
When selecting your chops, look for pork with a slightly pink or reddish hue. This coloration indicates the meat is from a heritage breed, like Duroc or Berkshire, which tend to be more flavorful than the typical pale, lean pork found in many supermarkets. These heritage pork varieties have the perfect balance of fat marbling to deliver an exceptional eating experience.
The Dry Brine: The Secret to Moist, Seasoned Pork
Before we even think about the grill, the key to success lies in the preparation. I’m a firm believer in the power of a simple dry brine. By rubbing the pork chops generously with salt and letting them rest in the fridge for 40 minutes to an hour, you allow the salt to work its magic.
The dry brine does two important things: it seasons the meat throughout, ensuring every bite is well-seasoned, and it helps the pork retain moisture during the cooking process. The salt draws out the chops’ natural juices, which then get reabsorbed, tenderizing the meat and locking in that precious moisture. Just be sure to rinse off any excess salt before moving on to the next steps.
Low and Slow on the Smoker or Grill
Now it’s time to cook. While grilling is a fantastic option, I strongly encourage using a smoker if you have access to one. The slow, indirect heat of a smoker allows the pork chops to cook gently, developing a deep, complex flavor profile from the wood smoke. If you don’t have a smoker, no problem – you can still achieve excellent results on a standard grill.
The key, regardless of your cooking method, is to maintain a relatively low temperature, between 150°F and 200°F. This gradual, even heating helps the interior of the chops reach the ideal doneness without overcooking the exterior. I like to use a probe thermometer to monitor the internal temperature, pulling the chops off the heat once they reach 120°F to 125°F.
The Reverse Sear: Locking in Flavor and Texture
At this point, you’ve got a beautifully smoked or grilled pork chop with a perfect pink center. But we’re not done yet – the final step is the reverse sear. By quickly searing the chops over high heat, we can achieve that coveted caramelized crust that seals in all those delicious juices.
If you’ve been cooking on a smoker, simply transfer the chops to a blazing hot grill or cast-iron skillet. For grill-only setups, crank up the heat to 400°F or higher and return the chops to the grates. Flip them frequently, watching closely, until they reach an internal temperature of 140°F. This final sear should only take 5 to 10 minutes.
Resting for Perfection
The final step in achieving pork chop greatness is the resting period. Once your chops hit 140°F, remove them from the heat and let them rest, covered, for 5 minutes. During this time, the internal temperature will continue to rise, reaching the USDA-recommended safe minimum of 145°F. The resting period also allows the juices to redistribute evenly throughout the meat, resulting in a perfectly moist, flavorful pork chop.
Pairing and Serving Suggestions
Now that you’ve mastered the technique, it’s time to get creative with how you serve these thick-cut pork chops. I love to pair them with a simple garlic butter, spooned over the top as they rest. The richness of the butter perfectly complements the savory, smoky notes of the pork.
For a complete meal, try serving the chops alongside roasted root vegetables or a fresh, crisp salad. The possibilities are endless when you have a perfectly cooked pork chop as your canvas. Don’t be afraid to experiment with different flavor profiles and side dishes to find your personal barbecue bliss.
Sharing the Wealth: Tips for Fellow Pitmasters
As a fellow barbecue enthusiast, I’m always eager to share my hard-earned knowledge with the community. If you’re new to thick-cut pork chops or looking to refine your technique, here are a few additional tips to keep in mind:
- Invest in a quality meat thermometer: Monitoring the internal temperature is crucial for achieving the perfect doneness. I recommend a reliable instant-read thermometer like the Thermoworks Thermapen MK4.
- Experiment with different wood flavors: Seek out specialty wood chips or pellets to infuse your pork chops with unique smoky notes. Maple, apple, and hickory are all excellent options.
- Brine in advance for maximum impact: While the dry brine is a game-changer, you can take it a step further by soaking the chops in a liquid brine for 4 to 12 hours before cooking.
- Embrace the reverse sear method: Don’t be intimidated by the two-stage cooking process. The reverse sear is a foolproof way to get that mouthwatering sear without drying out the interior.
At the end of the day, grilling thick-cut pork chops is all about patience, precision, and a deep appreciation for the art of barbecue. With the right techniques and a bit of practice, you’ll be serving up pork chop perfection that’ll have your friends and family raving. Now get out there and start grilling!

