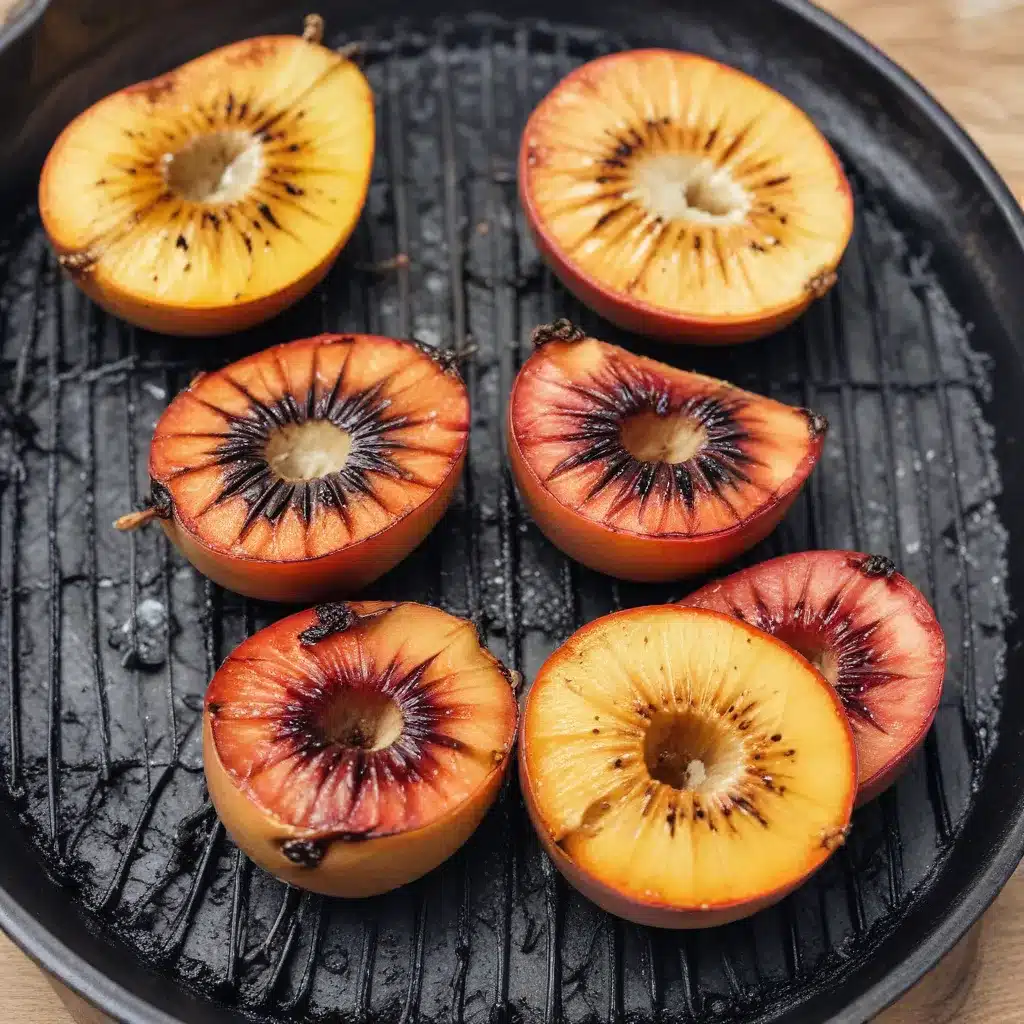
As an experienced barbecue pitmaster at Creekside BBQ, I’ve had the privilege of exploring the art of grilling and smoking for over a decade. One of the techniques that has consistently captivated me is the interplay between smoke and sear – the ability to impart a rich, aromatic flavor while also achieving that coveted caramelized crust on our grilled dishes.
Mastering the Sear: The Key to Grilled Fruit Perfection
When it comes to grilling fruits, there’s a delicate balance to strike. You want to preserve the natural sweetness and juiciness of the produce, while also adding a touch of char and depth of flavor. The secret lies in achieving the perfect sear, and I’m here to share my insights on how to accomplish this.
One of the common misconceptions I often encounter is the idea that searing must be done over a blazing-hot grill, similar to how we’d approach a steak. However, when it comes to delicate fruits, this approach can sometimes lead to overcooking and a loss of that desirable texture and flavor. Instead, I’ve found that a more nuanced approach, one that combines low-and-slow smoking with a strategic sear, yields the most outstanding results.
The Power of Smoke
The foundation of our grilled fruit preparations at Creekside BBQ lies in the use of smoke. By utilizing a carefully curated blend of wood chips or chunks, we are able to infuse our produce with a captivating aroma and a subtle, yet complex, smoky flavor profile. This step not only enhances the natural sweetness of the fruits but also adds a layer of depth that elevates the overall dining experience.
One technique I’ve found particularly effective is the use of a smoker or a dual-zone grill setup. By creating a low-and-slow heat environment, we are able to gradually cook the fruits, allowing the smoke to permeate the flesh and caramelize the natural sugars. This gradual approach ensures that the interior remains juicy and tender, while the exterior develops a delightful char.
Timing the Sear: The Art of the Reverse Sear
Now, while the low-and-slow smoking lays the groundwork for our grilled fruits, the real magic happens with the searing step. Rather than searing the fruits first and then smoking them, we employ a technique known as the “reverse sear.” This involves first smoking the fruits until they’ve developed a beautiful smoky essence, and then finishing them off with a quick, high-heat sear.
The benefits of this approach are twofold. First, by searing the fruits after the smoking process, we’re able to lock in all those incredible smoky flavors, ensuring that they are not lost or overpowered by the high-heat sear. Secondly, the reverse sear allows us to achieve a perfect crust without compromising the delicate internal texture of the fruits.
Mastering the Sear Technique
To execute the perfect sear on our grilled fruits, I’ve developed a few key strategies that I’d like to share with you:
-
Preheat, Preheat, Preheat: Ensuring that your grill or searing surface is ripping hot is crucial. For gas grills, I recommend preheating on high for at least 15 minutes with the lid closed. For charcoal grills, allow the coals to reach a nice, even gray color before adding your fruits.
-
Dry the Surface: Moisture is the enemy of a good sear. Before placing your fruits on the grill, make sure to pat them dry with a clean paper towel. This will help prevent steaming and create the perfect conditions for that coveted caramelization.
-
Resist the Urge to Peek: Once your fruits hit the hot grates, it’s tempting to want to check on them constantly. But resist this temptation! Let the fruits sear undisturbed for 2-3 minutes before attempting to flip them. This patience will reward you with those beautifully defined grill marks.
-
Flip with Care: When flipping your fruits, use tongs or a spatula to gently lift and rotate them. Avoid pressing down or dragging the fruits, as this can disrupt the searing process and cause them to stick to the grates.
-
Embrace the Basting: To further enhance the sear and add a touch of sweetness, consider basting your fruits with a light glaze or sauce during the final minute of cooking. This can create a delightful caramelized crust that complements the smoky undertones.
Flavor Combinations: Elevating Grilled Fruits
At Creekside BBQ, we believe that the possibilities for grilled fruits are truly endless. By experimenting with different wood flavors, spice blends, and complementary sauces or glazes, we’ve been able to unlock a world of flavor combinations that consistently delight our customers.
One of my personal favorites is a grilled peach dish that pairs the sweet, juicy fruit with a hint of hickory smoke and a drizzle of a honey-balsamic reduction. The interplay of the smoky, caramelized exterior and the tender, almost-jammy interior is simply divine.
Another standout in our repertoire is a grilled pineapple skewer, seasoned with a spicy-sweet rub featuring brown sugar, chili powder, and a touch of cinnamon. The sear on these pineapple chunks creates a delightful contrast to the fruit’s natural acidity, making for a truly memorable flavor experience.
Unleashing Your Grilling Prowess
Whether you’re a seasoned backyard grilling enthusiast or a newcomer to the world of barbecue, I hope that the techniques and insights I’ve shared today will inspire you to explore the boundless potential of grilled fruits. By mastering the art of the sear and harnessing the power of smoke, you can elevate your culinary creations and impress your family and friends with truly remarkable dishes.
Remember, the key to success lies in experimentation, patience, and a willingness to push the boundaries of traditional grilling. So, fire up your Creekside BBQ grill, grab some fresh, ripe fruits, and let’s embark on a flavor adventure that will have your taste buds dancing with delight!

