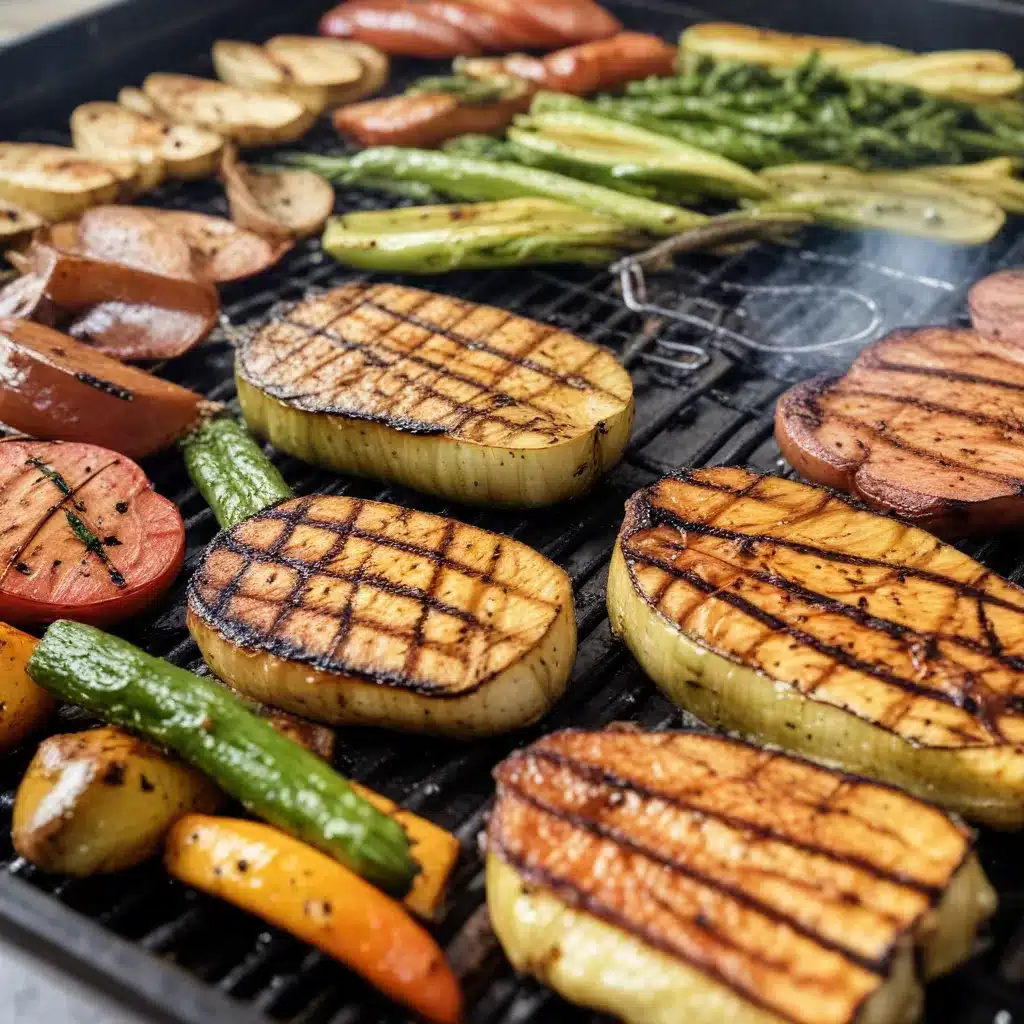
Unlocking the Secrets of the Char
As an experienced pitmaster at Creekside BBQ, I’ve had the privilege of perfecting the art of grilling over the years. One of the most satisfying aspects of my craft is the ability to transform humble vegetables into smoky masterpieces. While many grillers struggle to achieve that elusive char, I’m here to share the secrets that have elevated my grilled veggie game to new heights.
The key, my friends, lies in striking the perfect balance between smoke and sear. It’s a delicate dance, to be sure, but with the right techniques and a bit of patience, you too can unlock the true potential of your grill. Let’s dive in, shall we?
Preparing the Grill
Before we can even think about searing, we need to ensure our grill is primed and ready for the task at hand. First and foremost, always start with a clean grate. Use a grill brush or crumpled aluminum foil to scrape away any remnants of previous meals. This will help prevent unwanted sticking and ensure an even sear.
Next, it’s time to think about heat management. For that sought-after char, you’ll want to create a two-zone fire on your grill. This means having a high-heat direct cooking zone on one side and a lower-heat indirect zone on the other. This setup allows you to sear over the direct heat while also using the indirect zone to infuse your veggies with subtle smoky notes.
If you’re using a charcoal grill, arrange the coals accordingly, leaving one side with a high pile and the other with a thin layer. For gas grills, simply turn one or more burners to high and leave the others off. Pro tip: Consider adding a few wood chunks or chips to the hot coals or gas burners to further enhance that smoky flavor.
Prepping the Veggies
Now that the grill is ready, it’s time to turn our attention to the star of the show: the vegetables. When it comes to selecting your produce, I always recommend going for the freshest, highest-quality options you can find. Hit up your local farmers market or grocer and let your senses be your guide.
As for prep, the key is to cut your veggies into uniform pieces, ensuring they cook evenly. Aim for 1/2-inch to 1-inch thick slices or wedges, depending on the vegetable. This will help them sear beautifully without overcooking the interior. And don’t forget to pat them dry with a paper towel before seasoning. Excess moisture is the enemy of a good sear.
When it comes to seasoning, keep it simple. A light coating of olive oil, followed by a generous sprinkle of salt and pepper, is all you need to let the natural flavors shine. Feel free to experiment with your favorite spice blends or herbs, but remember, less is often more when it comes to grilled vegetables.
The Sear and Smoke Dance
Now, the moment you’ve been waiting for: the sear. Position your veggies over the high-heat direct zone of the grill, making sure they have plenty of space to breathe. Resist the urge to move them around too much – let those grill marks develop! After about 2-3 minutes, give them a quarter turn to create that iconic crosshatch pattern.
Once the first side is nicely seared, it’s time to flip and repeat the process on the other side. Keep a close eye on things, as the high heat can cause them to go from perfectly charred to burnt in a matter of seconds. This is where your refined pitmaster instincts will come in handy.
But the sear is only half the battle. To achieve that sought-after smoky depth of flavor, you’ll need to harness the power of the indirect heat zone. Transfer your partially seared veggies to the lower-heat side of the grill, cover, and let the smoke work its magic. Depending on the thickness of your produce, this step can take anywhere from 5 to 15 minutes.
Remember, the key is to find the right balance between sear and smoke. You want your veggies to be tender and infused with that irresistible charred flavor, without sacrificing their structural integrity. It may take a bit of trial and error, but trust me, the payoff is well worth it.
Finishing Touches
As the old saying goes, “the devil is in the details,” and that certainly holds true for grilled vegetables. Once your masterpieces have emerged from the smoke, it’s time to give them a few final flourishes.
First, consider a light drizzle of high-quality olive oil or a spritz of lemon juice. These simple additions can help brighten the flavors and add a touch of freshness. For an extra layer of complexity, try tossing your grilled veggies with a sprinkle of fresh herbs, crumbled feta, or a dollop of your favorite sauce or dip.
And don’t forget the importance of resting. Just like a juicy steak, your grilled vegetables will benefit from a few minutes of rest before serving. This allows the flavors to meld and the textures to firm up, ensuring each bite is a true delight.
Mastering the Grill
Achieving the perfect char on grilled vegetables is no easy feat, but with the right techniques and a bit of practice, it can become second nature. As an experienced pitmaster at Creekside BBQ, I’ve honed my skills over the years, and I’m excited to share my insights with you.
Remember, the key lies in striking the right balance between smoke and sear. Start with a clean, well-oiled grill and a two-zone fire setup. Prepare your veggies with a simple seasoning, and then let the sear and smoke do their magic. With a little patience and attention to detail, you’ll be rewarded with a symphony of flavors that will have your guests raving.
So, what are you waiting for? Fire up that grill and let’s get to work! I can’t wait to see the smoky masterpieces you create. Happy grilling, my friends!

